Barefoot sandals are trendy and fun to make. They add a boho-chic touch to your look.
In this blog, we’ll explore the world of DIY barefoot sandals. These simple yet stylish accessories are perfect for summer events or beach outings. You can create them easily with basic materials and a bit of creativity. Making your own barefoot sandals is a great way to express your personal style.
Plus, it’s a budget-friendly alternative to store-bought versions. Whether you’re new to crafting or an experienced DIY enthusiast, this project is suitable for everyone. The best part? You can customize them to match any outfit. So, gather your supplies and let’s dive into the fun and creative process of making your own barefoot sandals!
Introduction To Barefoot Sandals
Barefoot sandals are a fun and unique way to enjoy the feeling of being barefoot while still wearing something stylish on your feet. They are perfect for beach days, yoga sessions, or casual summer outfits. These sandals are simple to make and can be customized to fit your personal style.
Benefits Of Barefoot Sandals
- Comfort: They provide a natural and comfortable feel.
- Style: They are trendy and can be personalized.
- Cost-effective: They are inexpensive to make at home.
- Versatile: Suitable for various occasions and activities.
Materials Needed
To create your own barefoot sandals, you will need the following materials:
| Item | Description |
|---|---|
| Elastic cord | Flexible and comfortable for your feet. |
| Beads | Decorative elements to enhance the look. |
| Charms | Optional, for adding personal touches. |
| Scissors | For cutting the cord to the desired length. |
| Measuring tape | To measure the length of the cord. |
With these materials, you can easily create a pair of stylish barefoot sandals that are both comfortable and unique.
Choosing The Right Design
Choosing the right design for your DIY barefoot sandals is crucial. The right design can enhance your comfort and style. Let’s explore some popular styles and customization options.
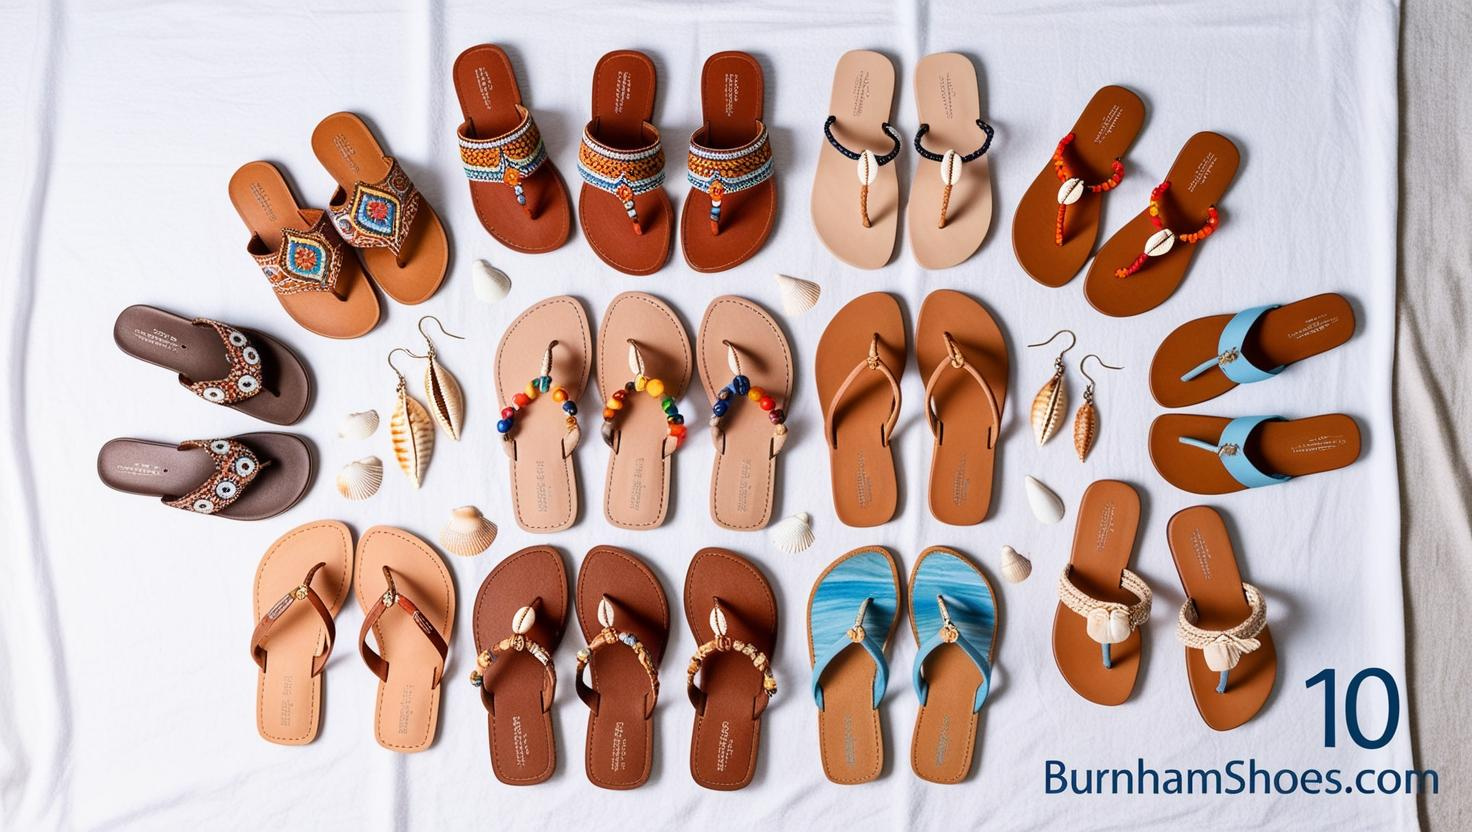
Popular Styles
- Bohemian: Known for its free-spirited look, perfect for summer.
- Minimalist: Simple and elegant, ideal for everyday wear.
- Ethnic: Features traditional patterns and beads, great for cultural events.
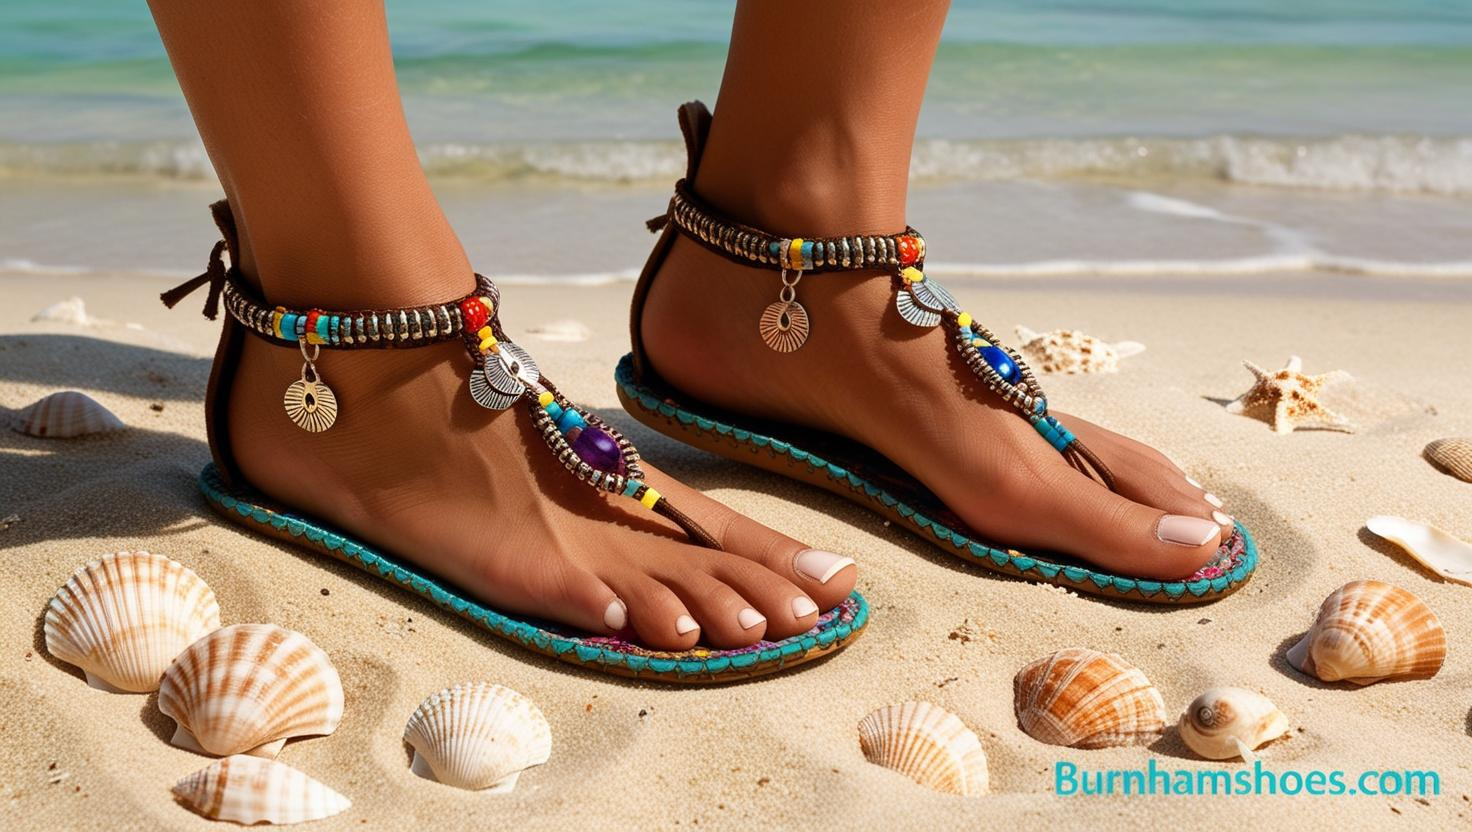
- Beachy: Utilizes shells and sea-themed elements, perfect for beach outings.
- Elegant: Often includes pearls and crystals, suitable for formal occasions.
Customization Options
Customization allows you to make your barefoot sandals unique. Here are some options to consider:
- Beads and Charms: Add beads or charms to reflect your personality.
- Color Choices: Choose colors that match your wardrobe.
- Material Selection: Use different materials like leather, thread, or ribbon.
- Pattern Variations: Create various patterns such as braided or knotted designs.
- Size Adjustments: Ensure a perfect fit by adjusting the size.
To create a custom look, you can mix and match different styles and materials. The possibilities are endless, so have fun with it!
Gathering Your Materials
Creating your own DIY Barefoot Sandals can be a fun and creative project. The first step in this journey is gathering your materials. Having the right tools and supplies will make the process smoother and more enjoyable. Below, we will explore the essential tools you need and how to choose the best beads and cords for your project.
Essential Tools
Before you start, ensure you have these essential tools:
- Scissors – For cutting cords and trimming excess material.
- Measuring Tape – To measure your foot and cords accurately.
- Needle – A beading needle works best.
- Glue – For securing knots if needed.
Selecting The Right Beads And Cords
Choosing the right beads and cords is crucial for both comfort and style. Consider the following:
| Material | Details |
|---|---|
| Beads | Opt for glass, wooden, or plastic beads. Ensure they have smooth edges to avoid irritation. |
| Cords | Select strong, flexible cords like nylon or elastic. This ensures comfort and durability. |
Here are some tips for choosing your materials:
- Color – Choose colors that match your style or outfit.
- Size – Ensure beads are not too large or too small.
- Texture – Smooth cords and beads prevent chafing.
By gathering the right materials, you set the foundation for beautiful and comfortable barefoot sandals.
Measuring Your Feet
Measuring your feet accurately is crucial for making comfortable and well-fitting DIY barefoot sandals. Proper measurements ensure that your sandals stay secure and feel great. Let’s break down the steps for getting precise measurements and adjusting for comfort.
Getting Accurate Measurements
Start by placing your foot on a piece of paper. Trace the outline of your foot with a pencil. Make sure you keep the pencil straight up to get an accurate outline. Measure the length of your foot from the heel to the longest toe using a ruler.
Next, measure the width of your foot at the widest part. This is usually across the ball of your foot. Write down both measurements. Repeat these steps for your other foot. Feet can be different sizes.
Adjusting For Comfort
After getting your measurements, consider how you want your sandals to fit. If you like a snug fit, use the exact measurements. For a looser fit, add a few millimeters to the length and width.
Think about where you will wear your sandals. You might want extra room if you plan to wear them for long walks. Comfort is key. Adjust the measurements to make sure your sandals feel just right.
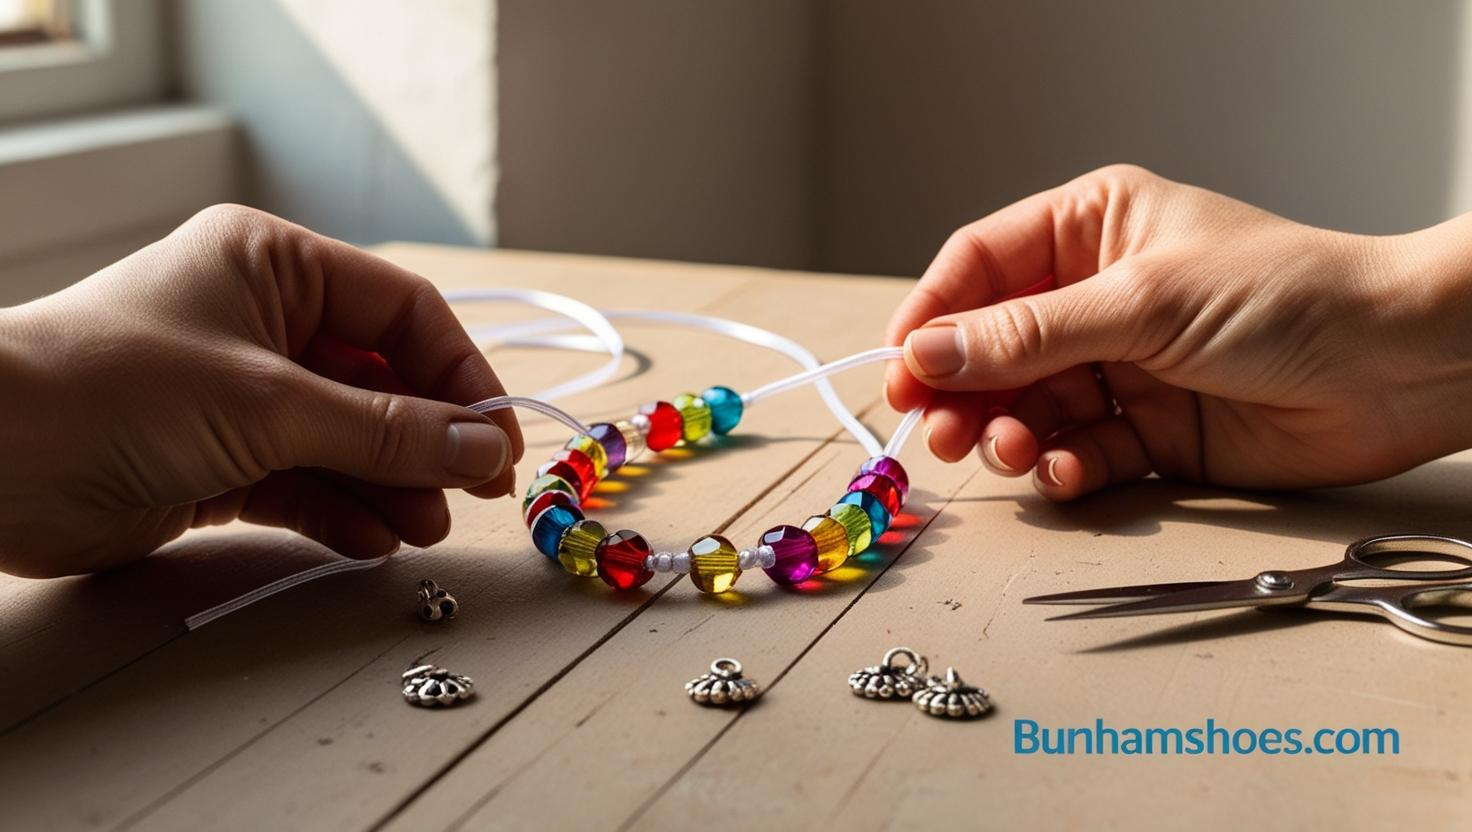
Creating The Base
Creating the base for your DIY barefoot sandals is an exciting step. This foundation holds everything together. It allows your creativity to shine. The base involves a few simple techniques. These steps ensure your sandals are both comfortable and durable.
Knotting Techniques
Start with a strong knot. This knot will be the anchor for your sandal. Use a square knot for the best hold. It’s easy to tie and very secure. Make the knot tight to prevent slipping.
Next, create the toe loop. This loop goes around your second toe. Measure the length of the cord. Make sure it’s comfortable but snug. Tie a small knot to keep the loop in place.
Then, add more knots as needed. These knots help adjust the fit. Place them where the cords meet your foot. Adjust until it feels just right.
Securing The Base
Now, secure the base to your foot. Wrap the cord around your ankle. Make sure it’s not too tight. You want it secure but comfortable.
Use a sliding knot for the ankle strap. This allows you to adjust the fit. Slide the knot to tighten or loosen the strap. It’s a simple and effective method.
Finally, check all your knots. Make sure they are tight and secure. Walk around to test the fit. Adjust any loose knots. Your base is now ready.
Adding Decorative Elements
Adding decorative elements to your DIY barefoot sandals can elevate their charm. These elements are easy to add and make your sandals unique. Let’s explore two main ways to decorate your sandals: bead placement and adding charms.
Bead Placement
Beads can transform simple sandals into beautiful accessories. Choose beads that match your style. You can use glass, wooden, or plastic beads. Arrange the beads in a pattern you like. Here are some tips for bead placement:
- Symmetry: Place beads evenly on both sides of the sandal.
- Colors: Use colors that complement your outfit.
- Spacing: Leave equal space between each bead.
Here is a simple pattern you can follow:
String - Bead - String - Bead - StringRepeat this pattern until you reach the desired length. Secure the beads by tying knots at each end. This ensures the beads stay in place.
Adding Charms
Charms add a playful touch to your barefoot sandals. Choose charms that reflect your personality. You can use small pendants, shells, or even tiny bells. Here’s how to add charms:
- Choose the charm and its position on the sandal.
- Attach the charm with a jump ring or a small loop.
- Ensure the charm is securely fastened.
Consider adding charms at the center for a focal point. Here are some popular charm ideas:
| Type of Charm | Best Placement |
|---|---|
| Shells | Near the toes |
| Pendants | Center of the foot |
| Bells | Near the ankle |
Experiment with different charm placements. This helps you find what looks best. Your barefoot sandals will be unique and stylish.
Fitting And Adjusting
Fitting and adjusting your DIY barefoot sandals ensures comfort and longevity. Proper fit avoids discomfort and enhances the overall experience. Adjustments fine-tune the fit, making the sandals feel custom-made for your feet. This guide will walk you through trying on your sandals and making necessary adjustments.
Trying On Your Sandals
Start by slipping your feet into the sandals. Make sure the straps are not too tight. They should hug your feet without causing any pressure points. Walk around a bit to see how they feel. Pay attention to any areas that might need tweaking. The goal is a snug but comfortable fit.
Making Necessary Adjustments
If the sandals feel loose, tighten the straps gradually. Adjust one strap at a time. This will help maintain balance and comfort. If a strap feels too tight, loosen it slightly. Check for any areas where the strap might be digging into your skin. Adjust until you find the perfect balance.
Next, check the toe loop. It should not be too tight or too loose. Adjust it so your toe can move freely. If the heel strap feels loose, tighten it for better support. Walk around after each adjustment. This ensures the changes improve the fit.
Finally, make sure the sole aligns with your foot shape. Trim any excess material if needed. This will prevent tripping or discomfort. A well-fitted sandal makes all the difference in comfort and wearability.
Care And Maintenance
Care and Maintenance of your DIY barefoot sandals are essential for ensuring their longevity and keeping them looking beautiful. By following a few simple steps, you can keep your sandals in great shape for many summers to come.
Cleaning Tips
Cleaning your DIY barefoot sandals can be easy. Here are some tips:
- Use a mild soap and water to clean the straps and soles.
- Gently scrub the sandals with a soft brush to remove dirt.
- Rinse thoroughly and pat dry with a clean towel.
Avoid soaking the sandals for too long. This can damage the materials. For stubborn stains, mix a little baking soda with water. Apply the paste, scrub gently, and rinse.
Storing Your Sandals
Proper storage is key to maintaining your sandals. Follow these steps:
- Keep the sandals in a cool, dry place to prevent mold.
- Avoid direct sunlight, which can fade colors.
- Store them in a breathable bag or box. This keeps them dust-free.
Avoid stacking heavy items on top of the sandals. This can deform their shape. If you have multiple pairs, consider using a shoe rack.
Showcasing Your Creations
Creating your own Diy Barefoot Sandals is rewarding. It’s an art form that lets you express your style. After putting effort into your designs, you will want to show them off. Sharing your creations can inspire others and give you a sense of pride. Let’s explore how you can do this effectively.
Photo Tips
Great photos can make your Diy Barefoot Sandals stand out. Here are some tips:
- Natural Light: Take photos during the day using natural light. It enhances the colors and details.
- Clean Background: Use a simple background. It makes your sandals the focus.
- Angles: Capture different angles. Show the front, side, and top views.
- Close-ups: Highlight intricate details. Close-up shots can show your craftsmanship.
- Wearing Them: Take photos of the sandals on your feet. This shows how they look when worn.
Sharing On Social Media
Social media is a great platform to share your Diy Barefoot Sandals. Here are some effective ways:
- Platforms: Use Instagram, Facebook, and Pinterest. They are popular for visual content.
- Consistent Posting: Post regularly to keep your audience engaged.
- Captions: Write engaging captions. Tell a story about your creation process.
- Engage: Respond to comments and messages. It builds a community around your work.
- Collaborate: Partner with other creators. It helps reach a wider audience.
By following these tips, you can effectively showcase your Diy Barefoot Sandals and connect with a larger audience.
Frequently Asked Questions
How Do I Make Diy Barefoot Sandals?
To make DIY barefoot sandals, you’ll need beads, string, and elastic. Measure your foot, thread the beads, and tie the elastic securely. Customize with decorations.
What Materials Do I Need For Barefoot Sandals?
You’ll need beads, string, elastic, and optional decorations like charms. Ensure the materials are durable and comfortable for wear.
Are Barefoot Sandals Comfortable?
Yes, barefoot sandals are comfortable if properly made. Choose soft materials and ensure a snug but not tight fit.
Can I Wear Barefoot Sandals Outdoors?
Yes, you can wear barefoot sandals outdoors. They’re perfect for beach outings, garden parties, and casual summer events.
Conclusion
Creating DIY barefoot sandals is fun and rewarding. They are stylish and comfortable. With simple materials, you can craft unique designs. These sandals are perfect for beach outings or summer events. Feel the earth beneath your feet. Enjoy the creativity and satisfaction of making your own.
Try it today and step out in style. Your feet will thank you. Happy crafting!